Creating an Event

Ryan Johnson
Last Update 5 years ago
Creating an event takes a few minutes. An event could be allocated general admission, a class, workshop, conference, registration, membership, selling products and merchandise etc.
Before you get started
If you haven't already done so, you'll need to setup an organisation with Undiscovered.
All information entered can be edited later, it is helpful to have worked out your basics before you create your new event. Before you start, make sure you have the following information:
- Event name
- A description of the event
- Your event cover graphic (cover should be 1200 x 628 pixels)
- Contact details for your attendees should they have any questions relating to your event
- Venue name and address
- The Start and End Date and times of your event
- When to open and close sales
- The capacity of your event
- Ticket pricing
Create your event
Log in to your Undiscovered account
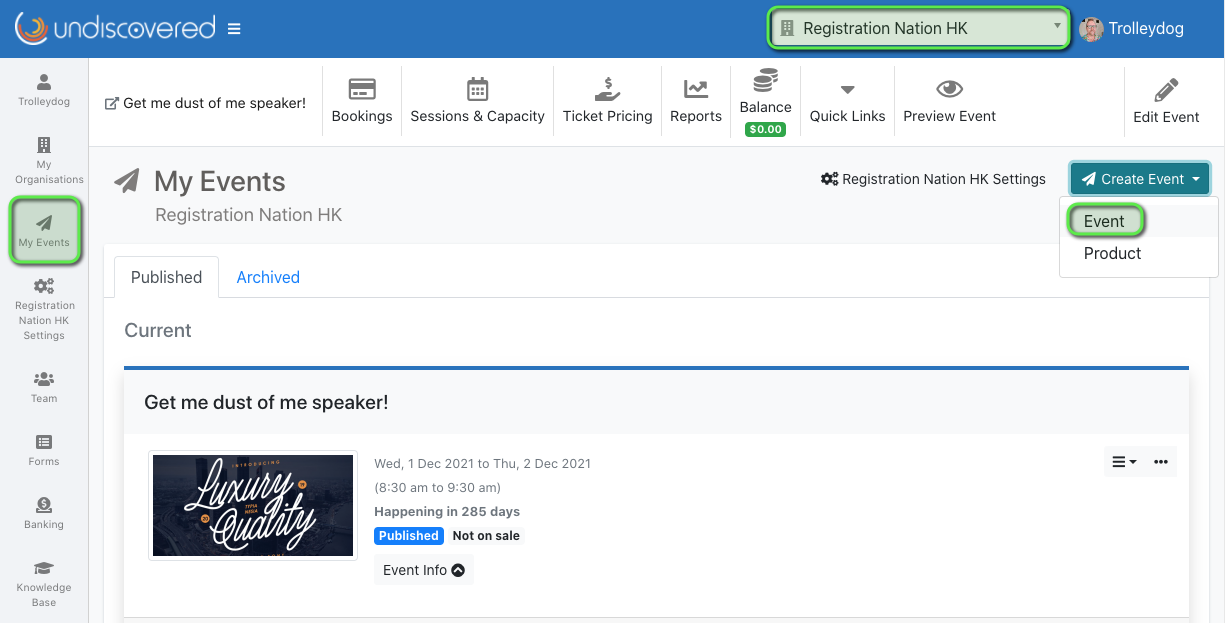
- Switch to the organisation you would like to create this event under. If you have more than one organisation account you can use the drop down menu from the top right hand side of the page
- Click on My Events to navigate to your current and past events
- Click the Create Event drop down button and select the 'Event' Type
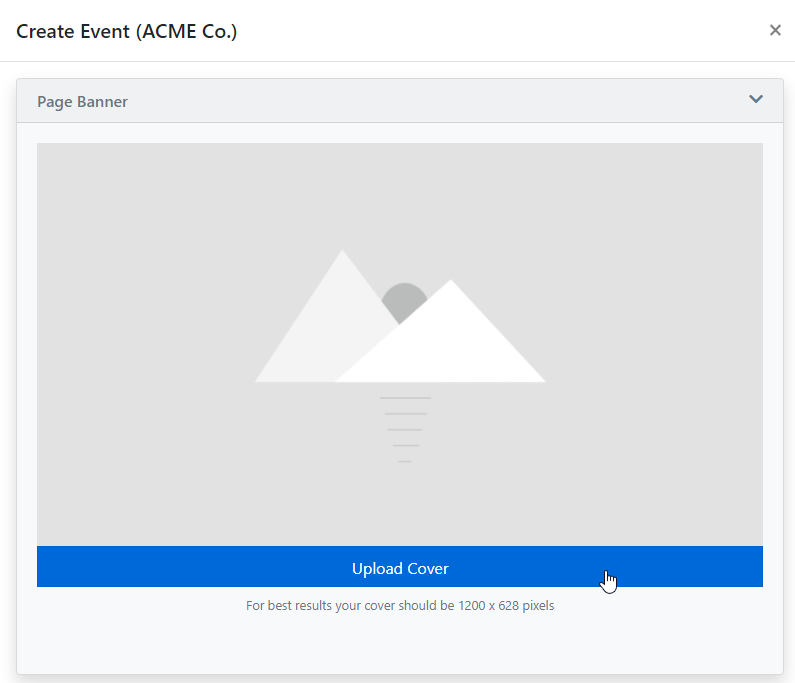
Upload your event banner
Click upload cover to upload your event banner. For best results your cover should be 1200 x 628 pixels
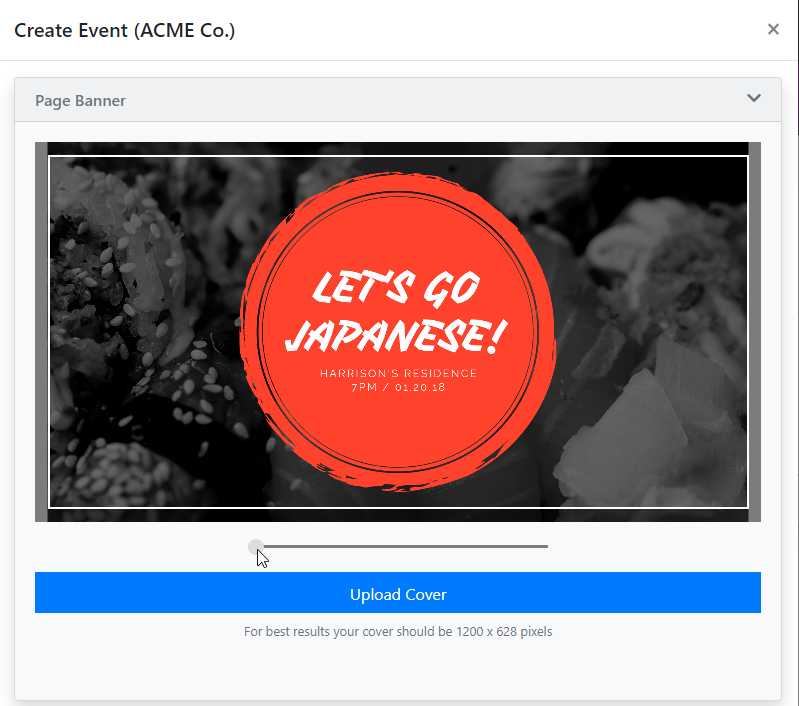
You can adjust the cropping of your cover by using the slider positioned beneath your image. You can only crop the image once. If you need to re-crop the cover, you'll need to re-upload it later
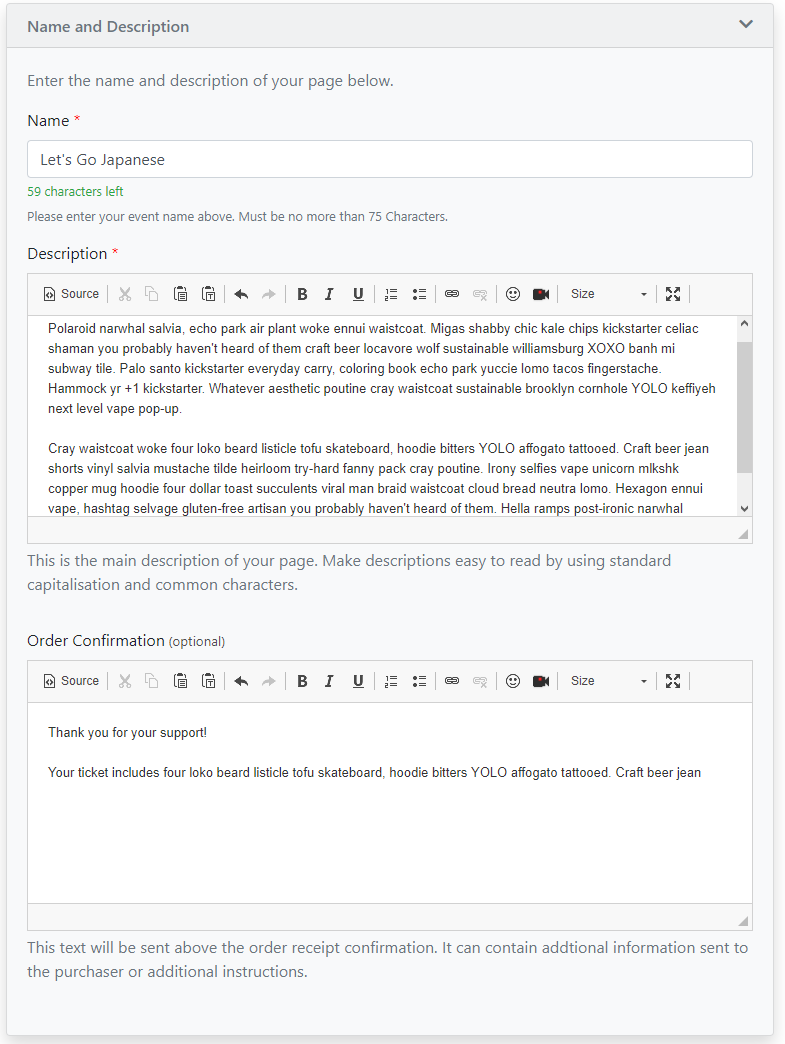
Event details
Please enter the following details for your event
- Name of your event.
- Description - A brief explanation of what the event is and what to expect.
- Order Confirmation - Optional text that appears in the introduction of the email that is send when a customer places an order.
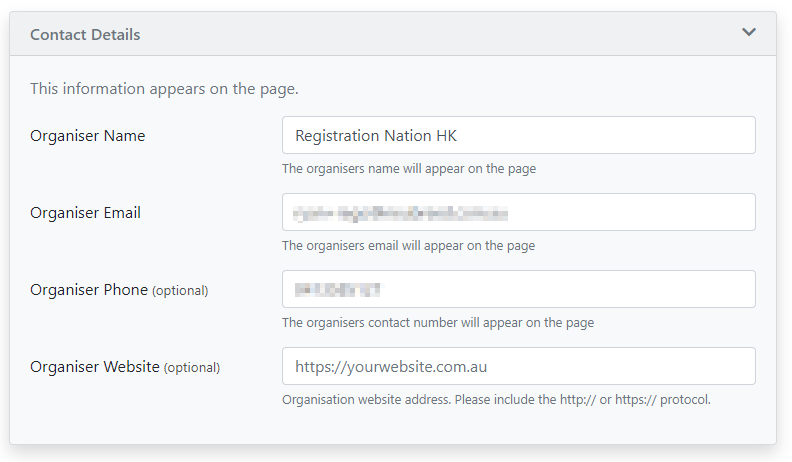
Contact details
Provide a name, phone and email address and website allowing your attendees to contact you with any question about your event or in relation to their booking. These fields are pre-filled with your organisation contacts but this can be adjusted on a per event basis.
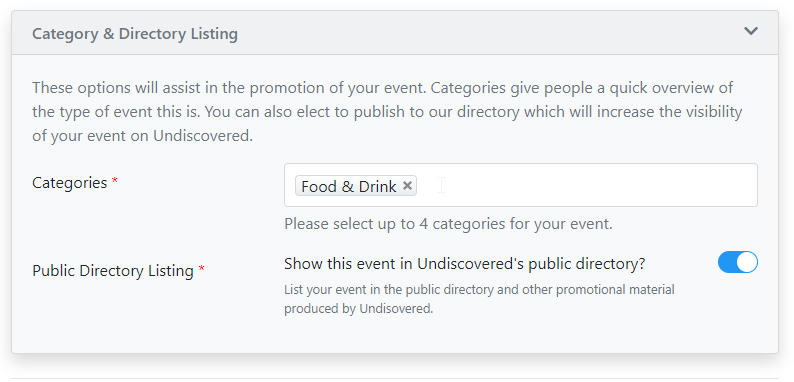
Event categories
- Select up to 4 categories for your event - These categories appear on the event's page showing potential customers the main activities your event is related to.
- Public Directory Listing - This option lists your event as public, otherwise your event will be private and only viewable vie the events link.
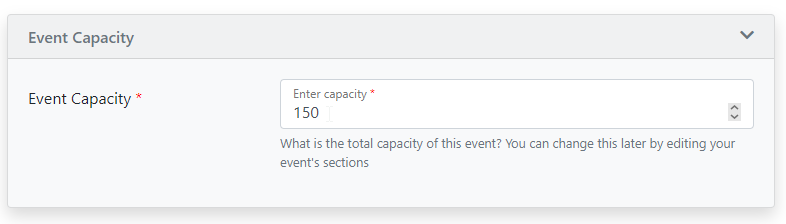
Section
Enter the capacity of your event. This sets the initial capacity for the first section created for your event. This can be changed later if need be.
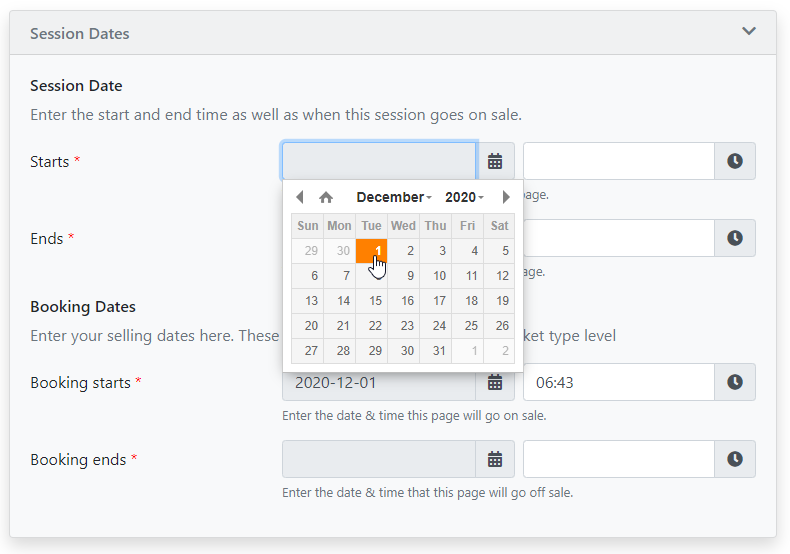
Session details
The session is the dates, times and location information for your event. When you create and event a single session is created. If your event consists of more than one session you can add more sessions later.
Session Name - Enter the name of your session. This can be a location or other name eg. Central Park, Morning class, Day one, day two etc.

Using the calendar and time pop-ups you can specify your event dates
- Starts - Your event start date and time
- Ends - Your event end date and time
- Booking Starts - When your event will go live for ticket sales
- Booking Ends - When your event will close for ticket sales.
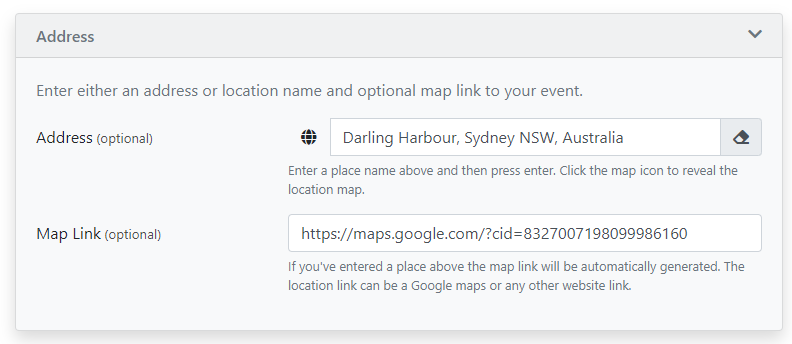
Address
Optionally you can add the address of this session which will provide details to your ticket holders and provide a map and link on the event page. If you don't want to show this information then leave these fields blank
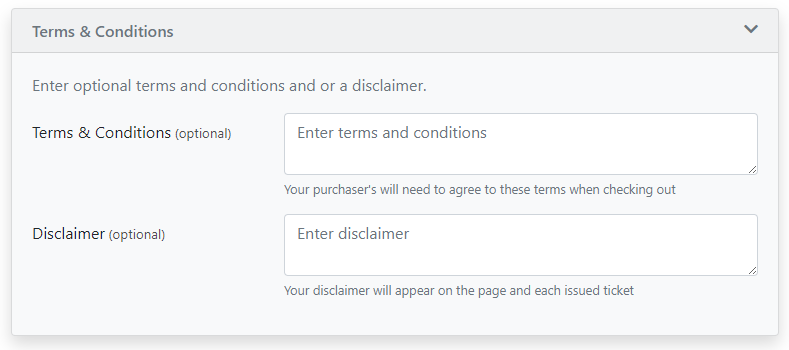
Terms & Conditions and Disclaimer
Optionally, you can add terms and conditions and a disclaimer for your event.
- Terms & Conditions - Text entered here will require your attendees to agree to these terms before checking out
- Disclaimer - The disclaimer will appear highlighted after your event name and description.
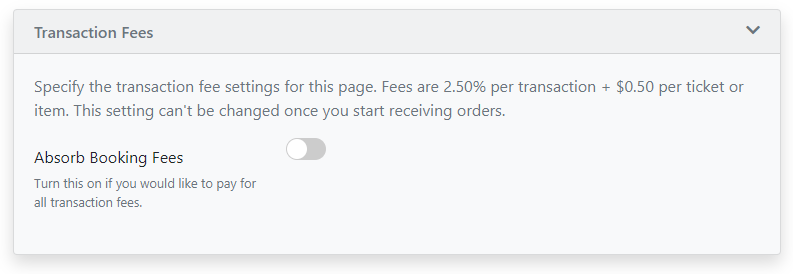
Transaction fees and currency
Select whether you would like to pass on the fees for this event to your attendees, or absorb the fees yourself. This is option is ignored if your event has only free tickets for sale.
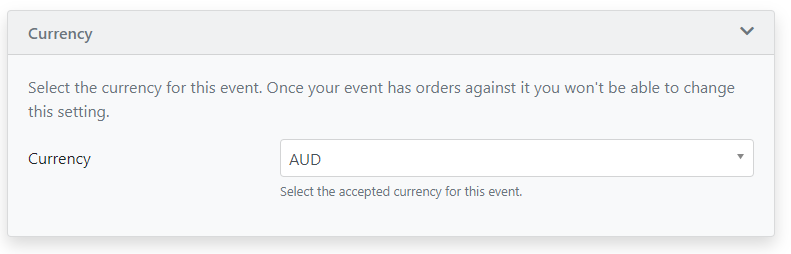
Select the currency you would like to charge your customers in
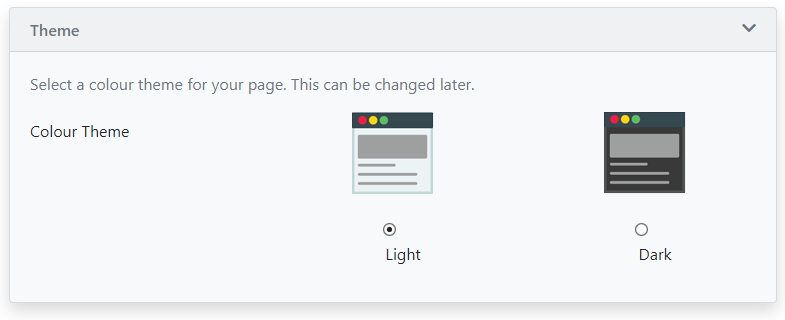
Theme
Select the colour scheme for your events page. Available options are light or dark
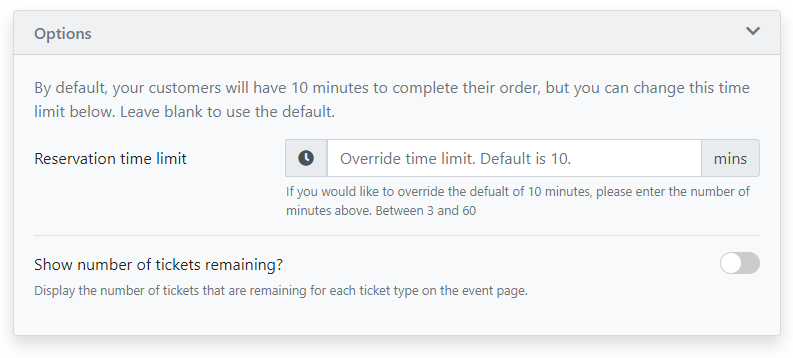
Ticket reservation time limit
When your potential customers add a ticket to their shopping cart they will need to complete their order within the time limit that you set here.
Save your event
Click the save draft or publish button to save your event.
Save Draft - saves your changes and takes your event offline. People won't be able to order any tickets
Publish - saves your changes and puts your event online.

If your event is new, the first time you save it you will be taken to the Ticket type creation page so you can add your first ticket type!